Maven Tutorial 101
Table of Contents
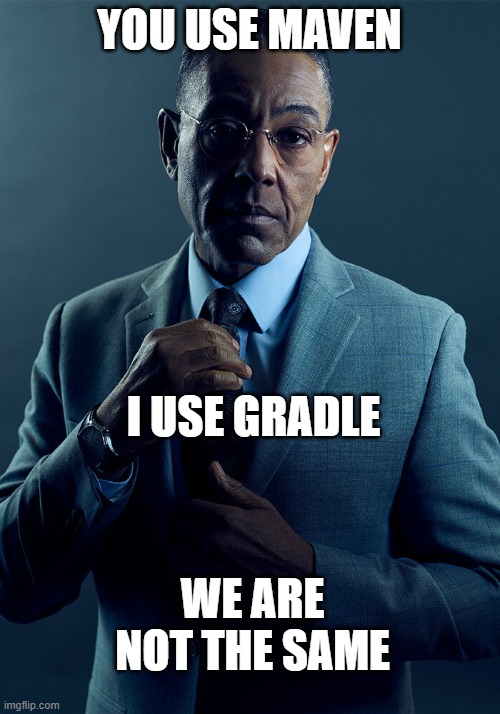
Ah, Apache Maven. The tool that promises to solve your build problems but can occasionally feel like a high school group project where everyone has their own idea of how things should be done. But fear not! Whether you’re new to Maven or just looking to freshen up your knowledge, this guide will help you navigate through the complexities of dependency management and build automation. And yes, we’ve got memes to make it fun.
What is Maven?
Maven is like that one friend who insists on organizing everything like files, projects, dependencies. while the rest of us are out here trying to enjoying thier life. Apache Maven is an open-source build automation tool used primarily for Java projects. It takes the tedious work of managing dependencies, building your code, and packaging it into an executable format off your plate.
Key Features of Maven
Project Object Model (POM): Think of the POM as Maven’s equivalent of the rules in a board game. It’s a file that contains the entire configuration of your project. Without it, you’re just rolling the dice and hoping for the best.
Dependency Management: Maven automatically fetches dependencies, so you don’t have to go on a scavenger hunt for JAR files. Just add them to your pom.xml, and voila! No more Googling “junit jar download.”
Build Automation: Maven speeds up your workflow by automating the compilation, testing, packaging, and even deployment. Basically, it’s your personal assistant, minus the coffee runs.
Plugins: Maven supports hundreds of plugins, kind of like apps on your phone that make your life easier. Want to test? Deploy? Generate documentation? There’s a plugin for that.
The Maven Project Object Model (POM): The Holy Grail of Maven
The POM file (pom.xml) is basically the configuration file that governs everything Maven does. If Maven were a superhero, the POM would be its trusty sidekick. It’s an XML file where you define:
- Project Coordinates (Group ID, Artifact ID, Version)
- Dependencies (Libraries your project needs)
- Plugins and Goals (What Maven should do)
- Build Configuration (How Maven should build the project)
- Repositories (Where to fetch dependencies from)
Here’s a basic POM file:
<?xml version="1.0" encoding="UTF-8"?>
<project xmlns="http://maven.apache.org/POM/4.0.0"
         xmlns:xsi="http://www.w3.org/2001/XMLSchema-instance"
         xsi:schemaLocation="http://maven.apache.org/POM/4.0.0 http://maven.apache.org/xsd/maven-4.0.0.xsd">
    <modelVersion>4.0.0</modelVersion>

    <groupId>com.example</groupId>
    <artifactId>maven101</artifactId>
    <version>1.0-SNAPSHOT</version>

    <dependencies>
        <dependency>
            <groupId>junit</groupId>
            <artifactId>junit</artifactId>
            <version>4.12</version>
            <scope>test</scope>
        </dependency>
    </dependencies>
</project>
Key Elements of the POM:
<groupId>: Think of it as the “team name” in a group project.<artifactId>: This is the “project name” that distinguishes it from other projects in your team.<version>: Because every project needs a “latest version.” The meme version of your code.<dependencies>: These are the external libraries you’ll need to avoid reinventing the wheel. It’s like when your friend buys all the supplies for a potluck—Maven just handles that for you.
How to Set Up a Maven Project (Don’t Panic, It’s Easy)
If you’ve ever tried to set up a project from scratch and ended up feeling like:
Don’t worry, Maven’s got your back. Setting up a Maven project is as easy as following a recipe.
1. Install Maven:
Download Maven from the official website and follow the instructions for your operating system. It’s kind of like downloading a new app—except you don’t get a cute icon on your desktop.
2. Create a New Maven Project:
Once Maven is installed, you can create a new project using the following command:
mvn archetype:generate -DgroupId=com.example -DartifactId=maven101 -DarchetypeArtifactId=maven-archetype-quickstart -DinteractiveMode=false
You’ll have a new project folder with all the basic Maven setup in seconds. It’s like magic—except with more XML files.
3. Add Dependencies:
Add libraries you need to the <dependencies> section in the pom.xml. Here’s the deal: just declare your dependencies, and Maven will handle the rest.
<dependency>
    <groupId>junit</groupId>
    <artifactId>junit</artifactId>
    <version>4.12</version>
    <scope>test</scope>
</dependency>
The Maven Build Lifecycle: Or, How to Finally Finish That Group Project
Maven operates on a standard build lifecycle, and let’s be honest. it’s like following a recipe for your favorite dish. Stick to the recipe, and you’ll have a finished product except in Maven’s case, it’s a fully built Java project instead of a pizza.
Clean Phase: Wipe the slate clean, because who needs old files cluttering up their day?
mvn clean
This will delete the target/ directory, where Maven stores the compiled classes and built artifacts. It’s like hitting the “reset” button on your project.
Validate Phase: Check if everything is in order because we all know that feeling when you submit the project and then realize you forgot something important.
mvn validate
This phase ensures that your project structure is correct and all configurations in your pom.xml are valid. It’s the “Is this all right?” check before you move forward.
Compile Phase: Time to turn that raw code into something shiny hopefully without any typos.
mvn compile
This command compiles your source code. No more staring at code and wondering if it will work (hopefully).
Test Phase: We all need a little testing to make sure everything works like checking if your coffee is actually brewed before you sip.
mvn test
Runs unit tests on the compiled code. Maven will run your tests and tell you if everything passes (or, in the worst case, if your test fails like that one project group member who doesn’t do their part).
Package Phase: You’ve got the goods, now it’s time to package it all into a neat bundle. Like putting your project in a box and adding a bow.
mvn package
This command takes the compiled code and packages it into a JAR, WAR, or other format specified in your pom.xml. It’s like the fancy gift wrap before your project goes to its new home.
Install Phase: Your project is built, it’s packaged but now it’s time to put it where you can find it, like putting your new shoes on the shelf.
mvn install
Installs the built artifact (JAR, WAR, etc.) into your local Maven repository (typically ~/.m2/repository). Now, other projects on your system can reference it like it’s the hottest new library on the block.
Deploy Phase: Ready for the world? Time to send your project off to the cloud (or wherever it’s supposed to go).
mvn deploy
Uploads the built artifact to a remote repository (like Maven Central or a private repository) so others can use it. It’s like uploading your final project to the server for everyone to access. Don’t forget to high-five yourself.
Benefits of Using Maven (or Why It’s Better Than Doing Everything Manually)
Simplified Dependency Management: Maven automatically fetches your dependencies. You’ll never have to manually download JARs again. It’s like a magic delivery service for libraries.
Standardized Build Process: Everyone follows the same process, so you can work with any team without the build process becoming a game of “whack-a-mole.”
Extensive Plugin Ecosystem: There’s a plugin for practically everything. It’s like when you get your friend to do the work for you—except your friend is actually reliable.
Easy Collaboration: The pom.xml file is simple to read, so collaborating on projects with others is as smooth as butter.
The End
Apache Maven is a game changer for Java developers, whether you’re building a side project or contributing to a open source projects. With Maven handling your builds and dependencies, you can focus on writing code and not on figuring out how to get all your libraries in place.